
You already know that photos are an important way to communicate about your science. They not only document your work (as part of your data) but they can be used to explain your scientific work to complement your words. So, what type of photos are best to collect? Here are a few ideas, and some considerations to use while taking your photos. A future blog post will also make suggestions for filing these valuable assets.
Scientists and practitioners at work
Humanizing science is one is one of the best ways to earn trust with the public. If a person can think that their cousin, sibling, or friend might be doing similar things, it helps your work be more relatable. This is why taking photos of scientists in action is important. Showing people in action often makes photos more compelling.
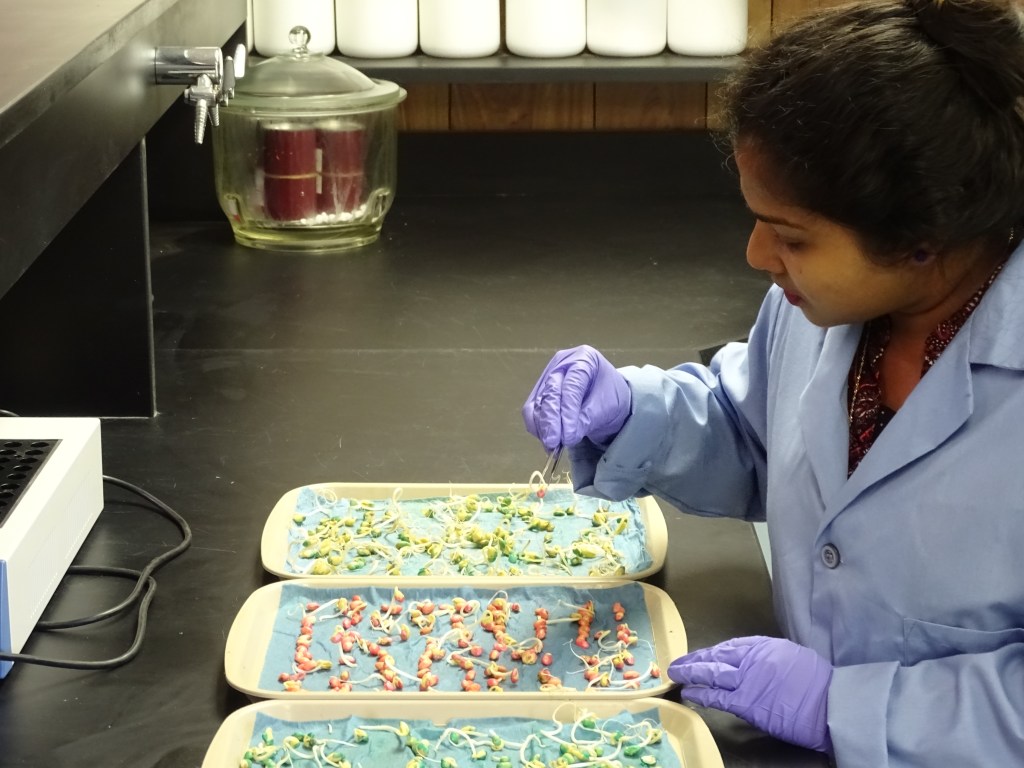
Some people are “camera shy.” Hopefully, they’ll get over that for the greater good of public education. But if they can’t, the best solution is the “over-the-shoulder” shot. You place the camera just to their left or right, from behind them. You get a portion of their face – but it won’t matter if their eyes are closed or their face is smirked, so it takes pressure off the subject. Another trick is to get a “hands-only” shot.
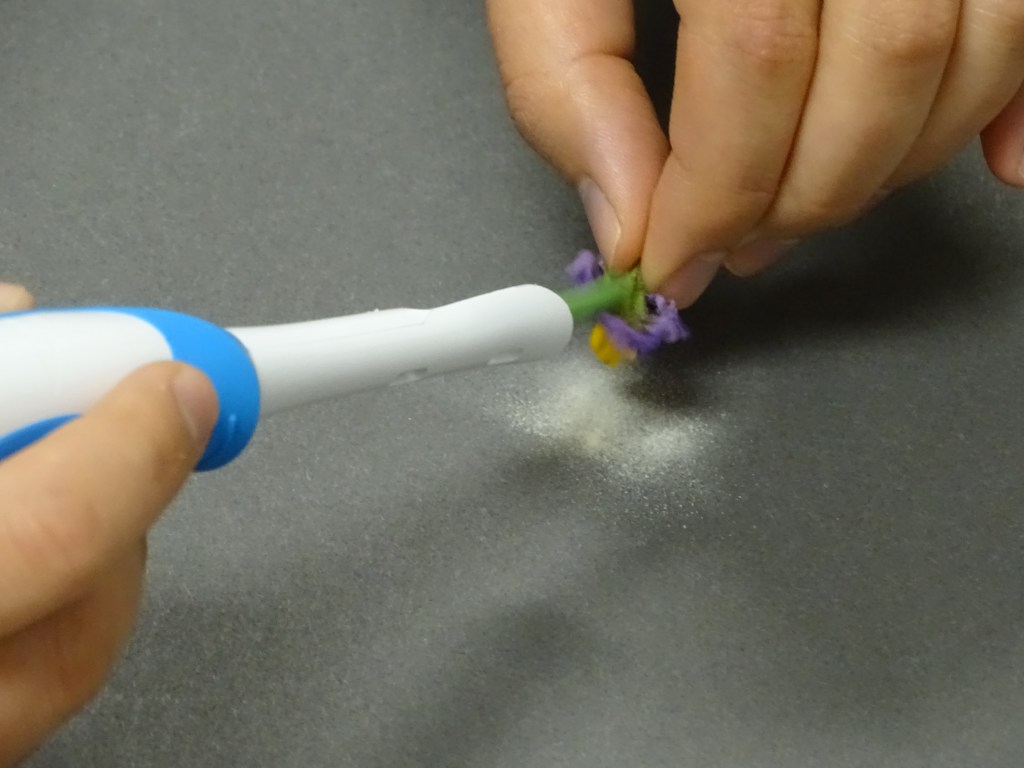
To get either an over-the-shoulder or hands-only shot, you need to be very close to the subject. If using a phone camera you might have to be within a foot of them. So, ask permission to get inside that zone, too. Do not zoom with your phone (I’ll cover why in a different blog post). If you have a digital camera with zoom (highly recommended), this won’t be an issue. With a real camera, you can take a good photo from several feet away and a short zoom. Try a few angles, and make sure what the subject is doing is the focus of the photo – not the side of their cheek!
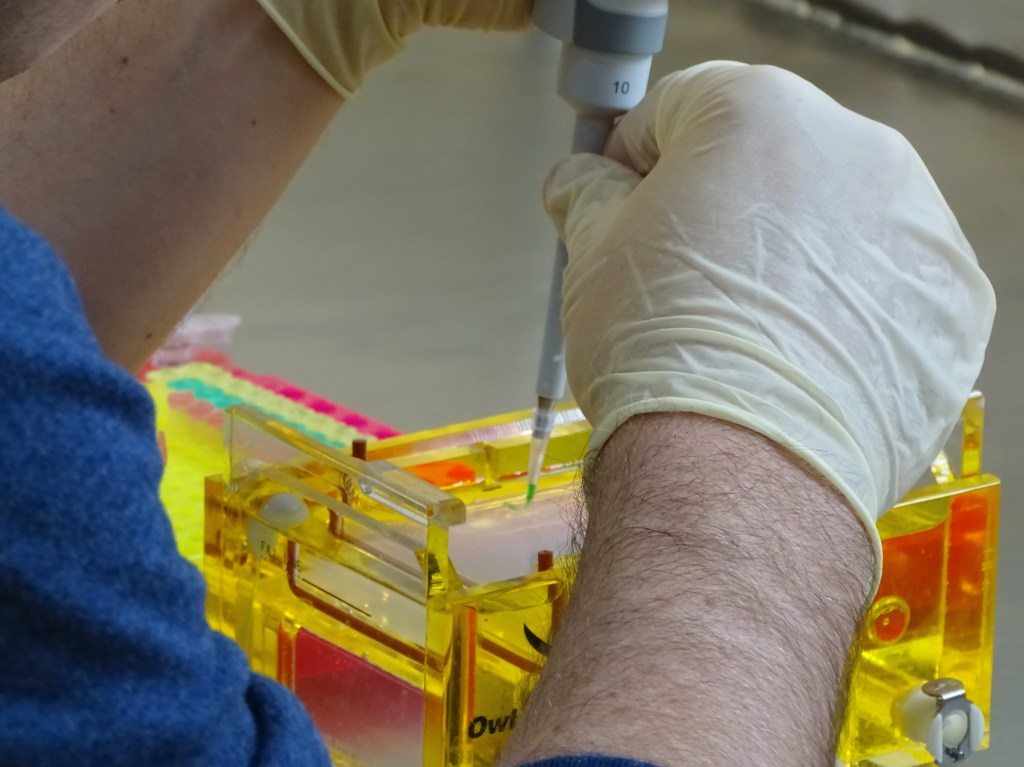
Speaking of smirks, smiles are great. But if all your photos have cheesy grins in them, that can detract from the photo. I prefer photos where the researcher or practitioner is either looking at the equipment, crop, or another person in discussion. Remember, this discussion is about portraying your science. If you’re taking a head shot for a work photo, of course you can smile – but for a #SciComm photo, showing people in action is better.
Taking photos of people in several locations of work is important. Where do you go for work? The lab? The field? The greenhouse? Take photos in these locations. Also take photos of your team working with various pieces of equipment. See the checklist at the end of this blog post to help you keep a running list of photos you’re taking.
Another compelling reason to take photographs of your research team at work—over several years if needed—is the case of visual media (TV or online video news, or even a YouTube video). The media may want to do a visual story of your research. Our department experienced this with National Science Foundation video reporter Dena Headlee (example of Dena’s work). The photographs a University of Rhode Island research team were able to provide to Dena landed them a 45-second clip on her show! (Watch here, starting at the three-minute mark). And, if you’re interested, you can take your photos and turn them into your own video story as well. Photos work great as “b-roll” which I’ll discuss in some video blogs in the future. Think of all the YouTube possibilities there!
Plants, Animals, Labs, “Things” or Sites You Are Studying
By taking good photographs at many stages of your research study, you’ll have exciting visuals to share. This will help create interest in you and your research. You’ll be able to start more discussions about what you’re accomplishing in the lab or in the field. Consider Tom Loynachan of Iowa State. His page includes intriguing videos of soil microbes. It’s much easier to understand these tiny critters when you can see them. Most people have a hard time envisioning the billions of microbes living in soil – and can we blame them? But once you see a photo of a “water bear,” who wouldn’t want to hug one? And the public will learn a lesson to stay on a park paths more quickly if they can see an example of a microbe they might squish if they go off-path.
Angle
Try to vary the angle at which you take your photos. Photos taken from your full standing-up height can lack excitement. If you’re taking a photo of soybeans, a shorter crop, get down on your knees and shoot it that way. If you’re taking a photo of mushrooms, of course you should try (if you can) to get down to mushroom-level! This is another advantage of a digital camera – mine has a rotating display, so I can put my camera on a lab bench or the ground and still see what I’m photographing while standing or kneeling. Try taking photos of the same action from a few angles and heights. It takes less than three minutes, and you might be surprised with your success!
Contrast
Some folks have shown me photos that have too much or too little contrast and want me to fix them in a photo application. Sometimes, photos can be fixed, but that does take extra time. Why not take a better photo by using a few simple techniques?
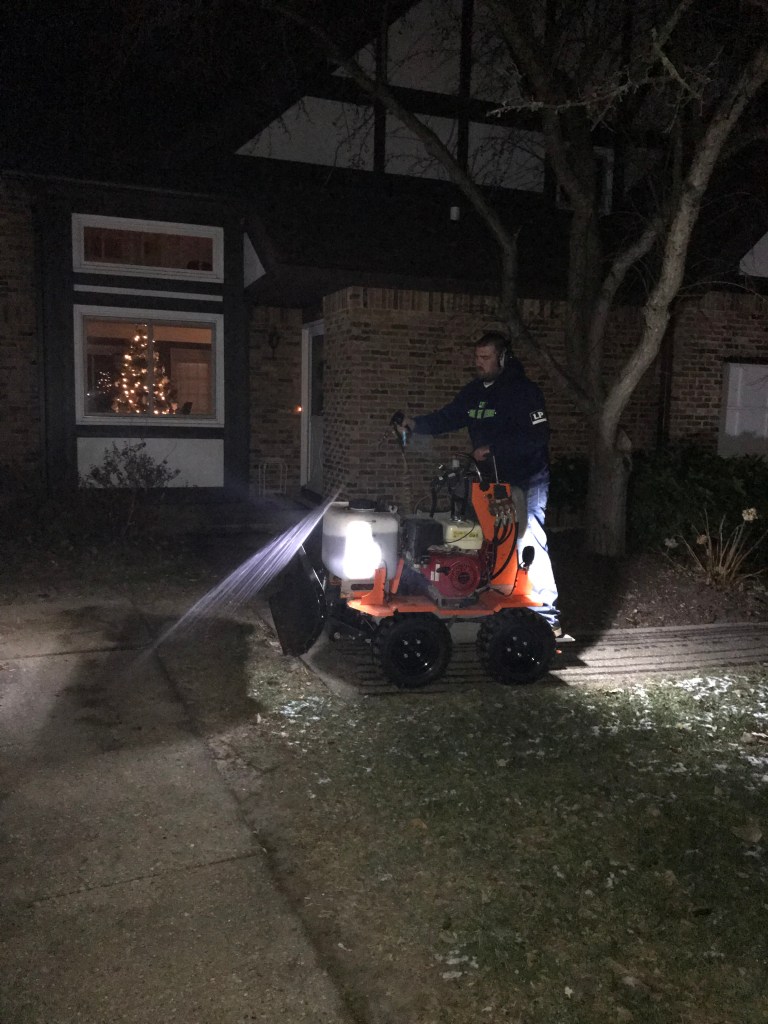
Think about what you have in the field or in the lab that can prevent contrast problems from happening. If you’re in the field in bright sun, and you want to take a photo of an aphid, the sun can be too bright. If you took a few steps clockwise or counterclockwise and used your own back as a light shield – how much does that change the contrast? If you can’t move, do you have a coworker out there with a clipboard or tablet? They can use that as a shield. If you’re in the lab, overhead lights can cast shadows on your subjects just like a bright sun. Use a clipboard to “bounce” light up on the subject. Tin foil works even better, but watch for glare – and make sure all of these are out of your frame.
On the other hand, cloudy days and dark locations can present a problem. What do you have with you that can bounce light – or provide an additional light source? My cell phone has a flashlight app. I can use it to shine light on a too-dark subject while taking a photo one-handed with my camera. It’s not ideal, but it works. You can use a tablet screen to reflect light up into your photo subject as well.
I have used darkness to my advantage in photos. Chemiluminescence and laser technology, for example. You just have to make sure the contrast isn’t too much.
Mess
Take a few seconds to pull needless cords out of the way, move a box, or move your body so these things are not in view. It’s much easier to do that than to have to edit distracting and messy objects out of a photo. I do realize this “advice” is hypocritical as my lab bench was never known to be devoid of mess, nor is my writing space right now. But, trust me, you’ll be happy you swiped the mess to the side if even just for the few shots!
Corporate logos
Sometimes you want to call out the manufacturer of your equipment. Other times, no. That’s up to you. I do recommend you only use your academic or business logos when taking photos of people. I tend to err on the side of caution when working with another company’s hard-earned logo image, so I leave them out (the Nike swoosh, the Adidas stripes) when possible. In addition, you don’t want to have to delete a photo from a website just because a company sees their logo being used in a way they don’t like.
Orientation
Photos can be vertical or horizontal – but most of the time you’ll want to take horizontal photos. Social media prefers horizontal photos, and it’s best to start with something correct than have to crop and resize photos. There are times when in order to tell your story, you need a vertical photograph, so of course make those exceptions. If you still want to use that vertical image for social media, Photoshop and other photo editing applications can allow you to use a colored background in horizontal layout and place your vertical photo on top of that for use on social media.
Photo recap
Photos add excitement when you communicate about your work. Irrigation equipment is complex! Crops are beautiful! Crystals in an Erlenmeyer flask – don’t even get me started on how much I love them!
Remember these tips. Take photos that:
- have researchers or other people in them
- show action
- are from different locations
- are from different times of your research projects
- have contrast (elements of light and dark, colors and shapes, and big and small)
- have an interesting camera angle
- portray your team at work, in the lab or field
- are devoid of mess
One person who took my Photo 101 workshop (a few hours invested at an annual meeting!) added up the time to implement the tips in taking a photo. In his feedback, he said “Susan, I just learned that if I took less than a minute to set up my photographs up better, it would save perhaps 30 minutes (or hours) of work in photo correction…and these are easy to do.” So true.
Share this excitement with the public, your granting bodies (who are the public in their home life) and research affiliates. Here’s a personal example: I knew that potatoes are in the nightshade family. But seeing potato blossoms in a field really hammered that thought in. The flowers of this crop are nearly identical to the pesky weed I pull from my shrubby woods every year. I’ve seen several kinds of irrigation equipment on my personal vacations and road trips. But, wow, was I amazed when I saw a line-up of gauges that are set up for precision ag. That’s cool stuff. Words do not tell the story as well as photos, and that’s why I highly recommend you set a goal, take photos, and file them for easy searching when the time comes to promote your work!
Read here about the importance of taking photos to document your scientific work.
Written by Susan V. Fisk, BS(Chem), M.Ed., MBA. Copyright by author.
For samples of my personal photography and make purchases, visit my Etsy shop.
Do you want more help with your science communications? Contact me at TrulyRelatableScience@gmail.com for estimates on editing your professional web pages, public presentations, grant proposals, or to Zoom into your classroom/lab for a workshop!

5 thoughts on “What type of photos should I take?”